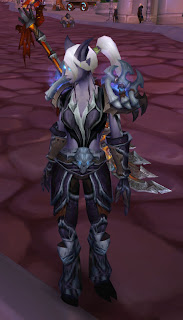
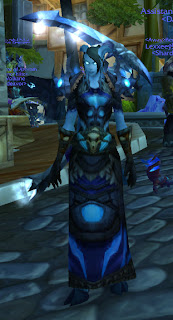
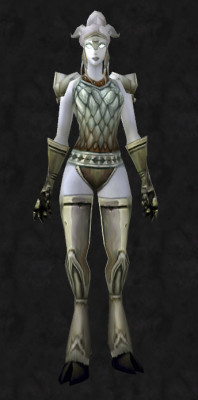
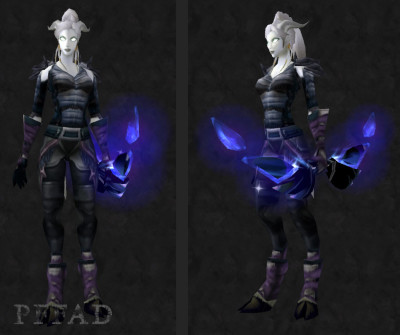
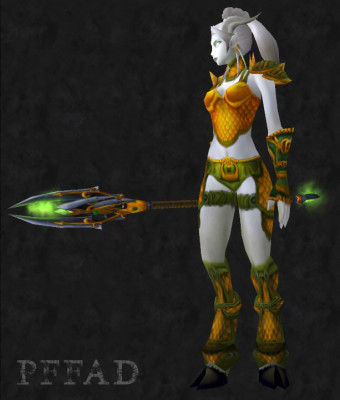
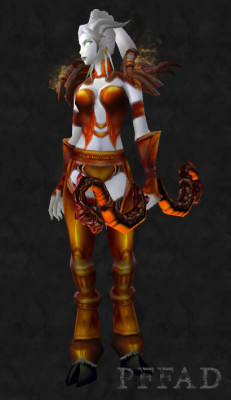
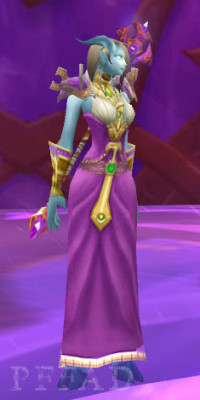
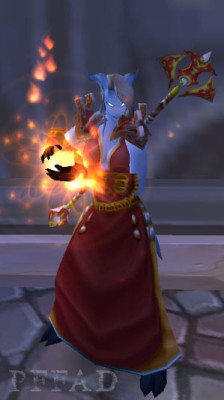
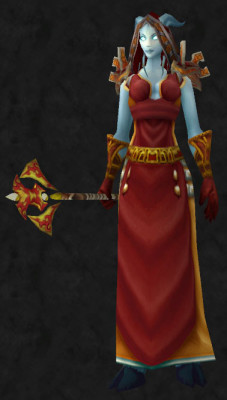
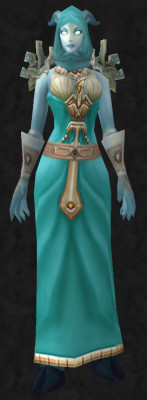
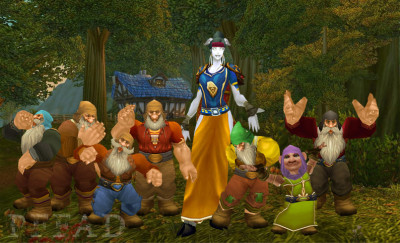
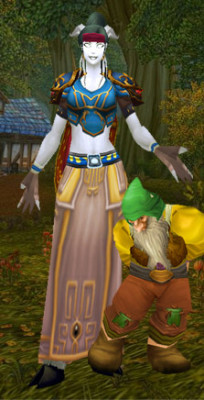
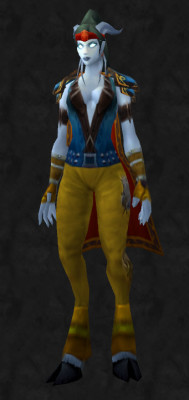
I love using Mogit, and it is my main resource for showing of mog sets. Sometimes, though, you want to show of a mog on a different character than you might have. Or, you want to mog six dwarves and a gnome to go with your Snow White! 🙂 This is where WoW Model Viewer comes in. When I first started this blog, I messed around with the program some, but I was frustrated by the giant shoulders, and couldn’t figure out how to scale them down. Once I found that button, the color of the shoulders kept changing, and that baffled me. I wasn’t able to find a lot of help online either. So, I gave up on model viewer for the time being. Months later I was putting together a post that I really wanted to use white backgrounds on, like Kamalia does on her blog. After some encouraging words from her, I decided to give model viewer another shot. With the Mogolympics in full swing, I’ve put together this tutorial in hopes I can help someone else create awesome mog shots with normal-sized shoulders.
WoW Model Viewer can be downloaded from wowmodelviewer.org. It is good to know that model viewer loads items and models from WoW’s program files, so you can’t run this program and the game at the same time.
|
|
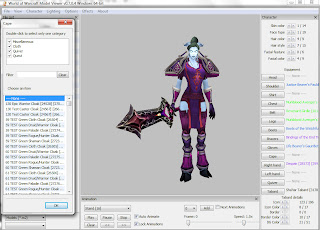
Once you get the program installed, the first step is to get a character on your screen. You can start with your own character by importing it from the armory. From the Character menu, select ‘Import Armory Character’ and enter the link from battle.net for your character. Your character will with all her gear, not transmogged, and with the face and hair you’ve chosen in game. |
|
|
You can also load a blank character using the File List on the left side of the screen. Expand the ‘Character’ menu, then pick your race and gender. This template can be customized using the controls on the right. You can change skin color, hair style and color, and facial features.
When you’ve chosen your character, you can change the gear they are wearing with the buttons on the right. Each button pulls up a List of all the items that go in that slot, on the left of the screen. You can search by item name, or number. When you select the item, it will show on your character. If you don’t want an item in the slot, you can pick –None–. As you can see, the shoulders are huge by default on Draenei, so let’s fix that.
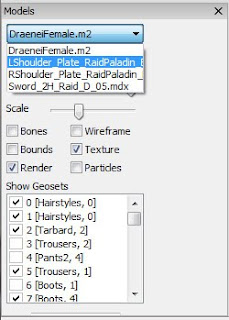
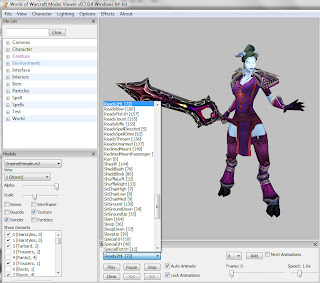
First, you need to open the model control box. In the View menu, select ‘Show model control’. This box should open somewhere on the left of your screen. Once that box is open, you can use the drop-down menu at the top to select the shoulder models. You will scale the left and right shoulders separately. Using the Scale slider under the menu, move the little slider to the left until you are satisfied with the size of the shoulder. As you can see below, I’ve scaled the left shoulder piece down, but it is showing a different color scheme than the purple I want.

To change the shoulder back to the correct color, you’re going to use the Animation box at the bottom of the screen. The second drop-down menu has all the ‘skins’ listed that belong to your shoulder model. This one only has 4, but some models have 20 or 30 skins. I just click through them until the one I want shows up on my character. After that, you can go back to the model control box, and repeat the process with the right shoulder.
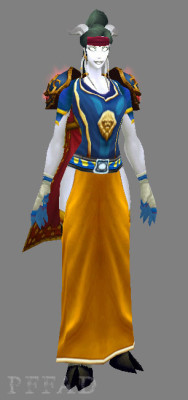
Here’s Draynee with both shoulders and sword sized-down. Once you have all your gear looking the way you want, you can play around the character’s animations. First, go back to your model control box and pick the first model, in this case DraeneiFemale.m2. Then, go back to the animation control screen at the bottom, and have fun!
This is the first tutorial I’ve ever written, so if you have any questions, let me know!


